I Made This - Summer Drawstring Pouch
The long summer break is here and if you’re itching for something to keep your little ones creatively busy then try making this drawstring pouch - it’s easy straight stitching for children 5 years and up, while younger kinds can skip the sewing part and have fun decorating the pouch and adding the drawstring
Materials needed:
- Piece of fabric - plain is better so your design stands out
- Needle and thread or sewing machine
- Scissors and measuring tape or ruler
- Ribbons or yarn for the drawstring
- Paint, buttons, fabric flowers, pens, markers etc for decoration
Steps:
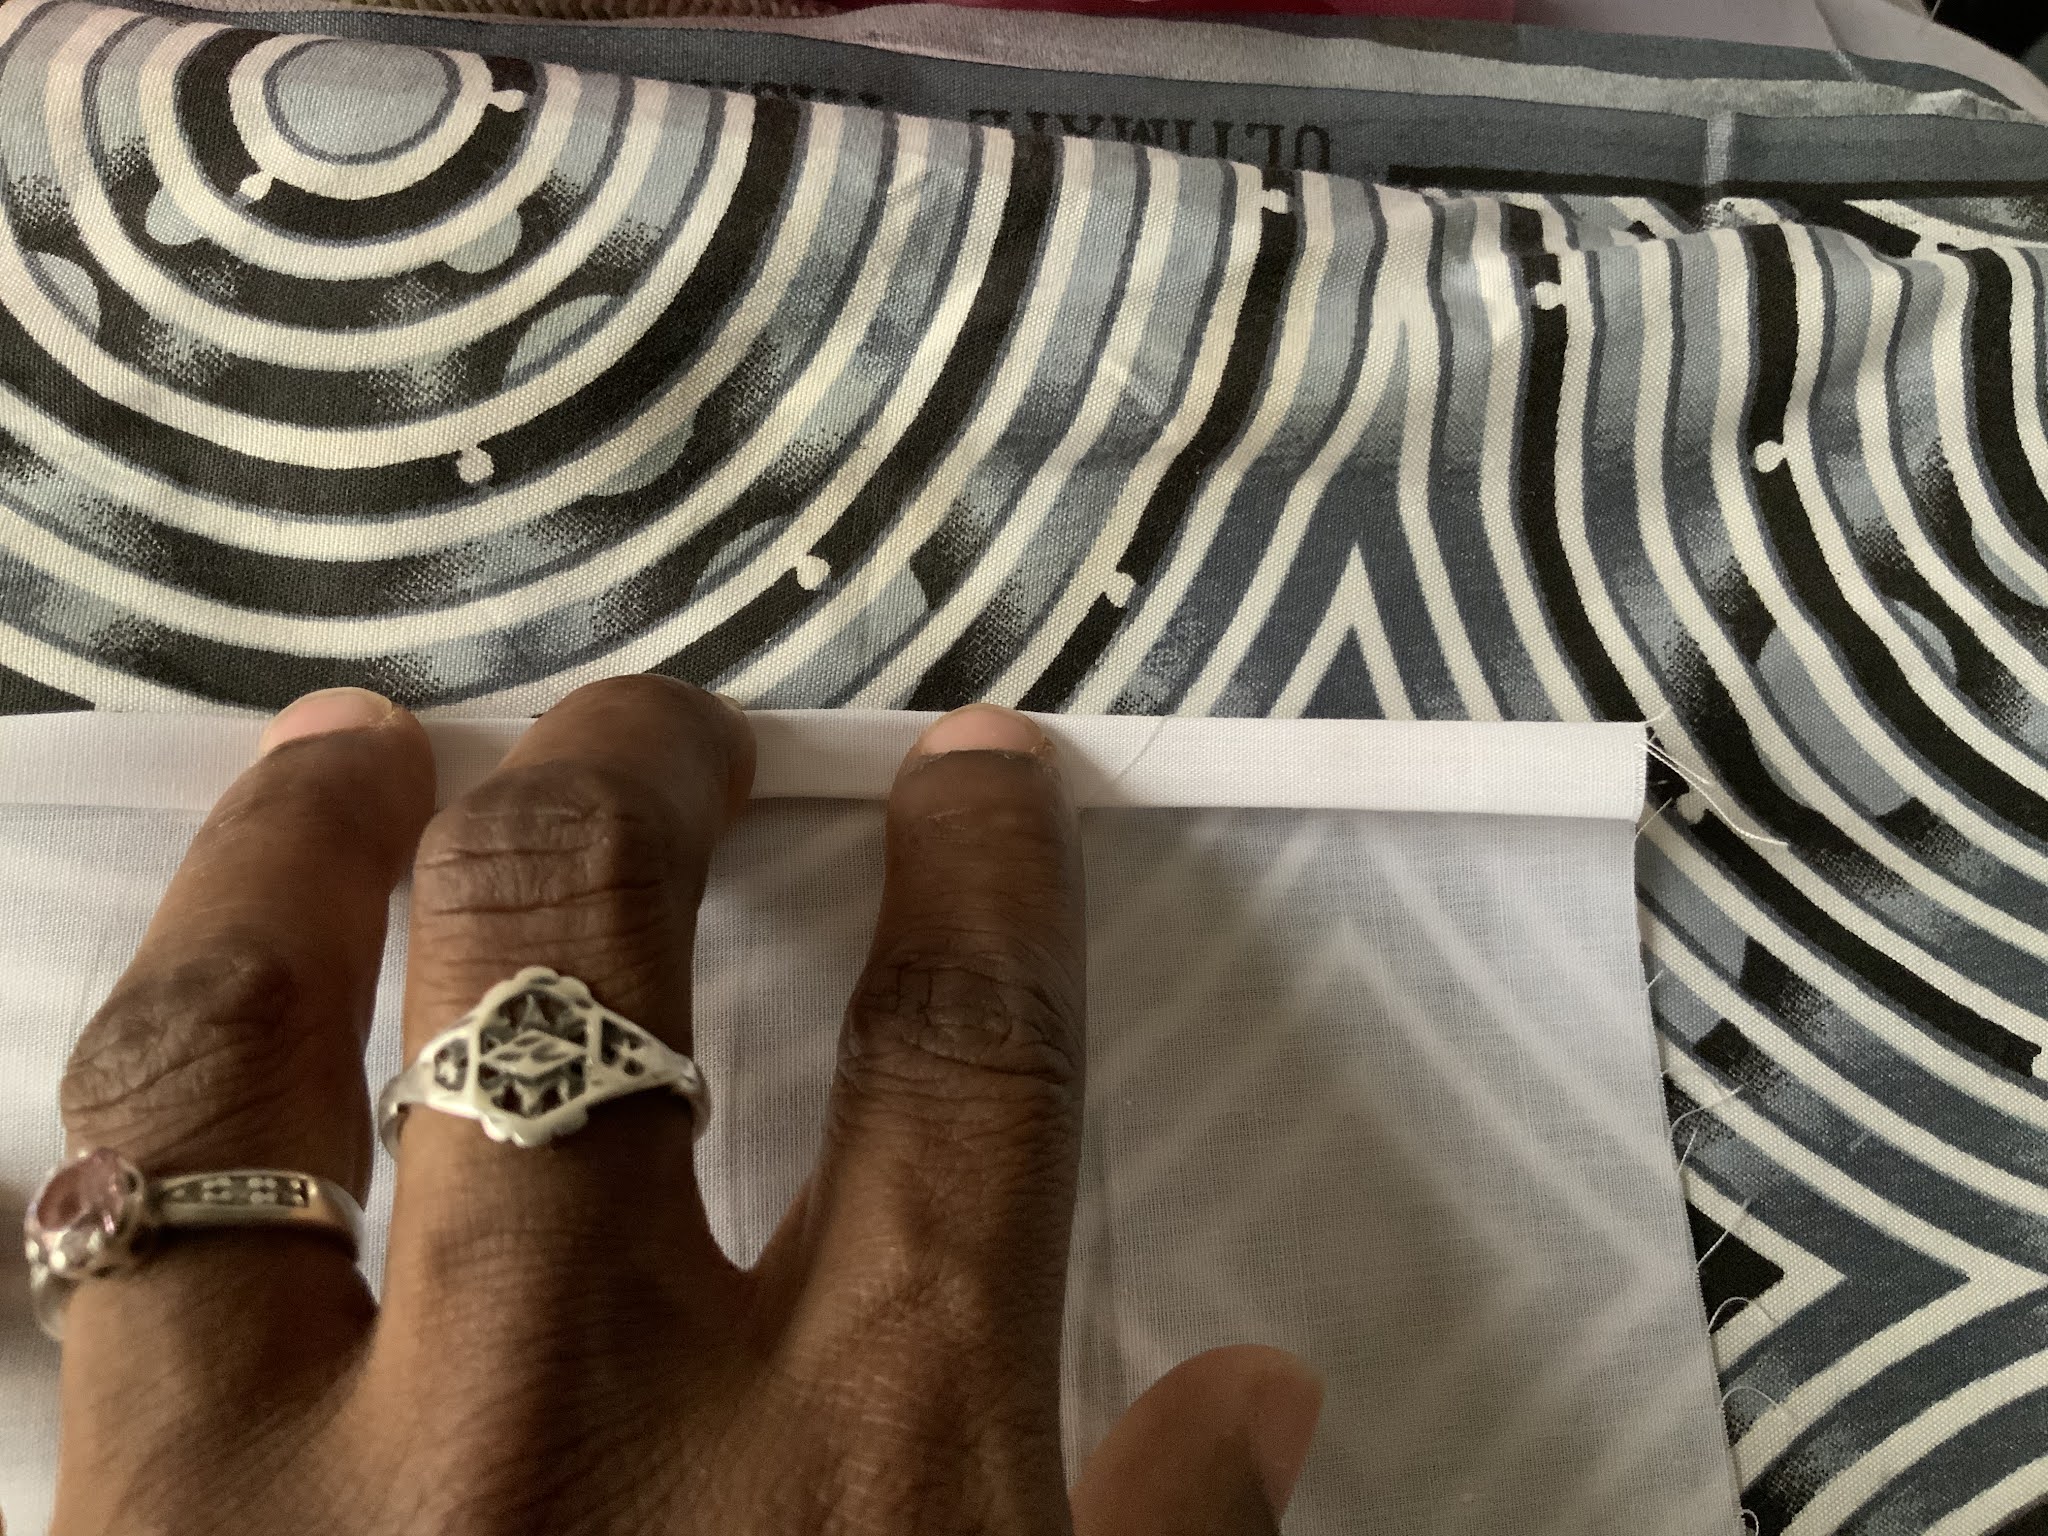
Cut the fabric to double the size of pouch you want to make, you will be folding it in half. We cut a piece of cotton fabric 9 by 22 inches. Fold each edge twice and hem, you can use a simple running stitch or back stitch using a needle and thread, or with a sewing machine - if your machine can, stitch a line of a decorative stitch along the two long edges.
Decorate
Fold the fabric in half and press, then decorate as you wish;
Embroider - place a picture behind the fabric and trace, then use coloured threads or embroidery floss to embroider decorative stitches along the lines


Paint - trace a picture on your fabric then use fabric paint, acrylic or permanent markers to colour your picture. Or put some paint on a plate and use stamps to decorate, or print your child's hand print on the fabric


Sew on Buttons - see on colourful buttons as you like, you can vary the size to make it even prettier!
Once you’re happy with your decoration, fold the top and bottom edges about 2 inches long and sew two straight stitches across the width of the pouch, this will be the channel for the drawstring. Next sew up the side seams, being careful no to sew the channel closed, else there'll be no way to add the strings.
Cut 2 pieces of strings - ribbon or yarn works great, the string should be double the width of your pouch plus an extra 4 inches or so. Use a safety pin to thread the string through one channel (from the right side, passing towards the left), once it comes through , pass it through the second channel (left towards the right to meet its end), then tie both ends together in a knot to stop it from getting undone - one string done. Repeat for the second string but starting from the left side this time.
Your amazing pouch is done! Well done 👍🏽


Comments
Post a Comment